
Assumptions:
A. Kernel-based Virtual Machine or KVM package is already installed on your Ubuntu Server
Verify:
dpkg -s qemu-kvm
Sample output:
root@ubuntuserver1:~# dpkg -s qemu-kvm
Package: qemu-kvm
Status: install ok installed
Priority: optional
Section: otherosfs
Installed-Size: 89
Maintainer: Ubuntu Developers <ubuntu-devel-discuss@lists.ubuntu.com>
Architecture: amd64
Multi-Arch: foreign
Source: qemu
Version: 1:2.5+dfsg-5ubuntu10.42
Replaces: qemu-kvm-spice, qemu-system-x86 (<< 1.7.0+dfsg-2~)
Provides: kvm, qemu-kvm-spice
Depends: qemu-system-x86 (= 1:2.5+dfsg-5ubuntu10.42)
Breaks: qemu-system-x86 (<< 1.7.0+dfsg-2~)
Conflicts: kvm, qemu-kvm-spice
Description: QEMU Full virtualization
QEMU is a fast processor emulator. This package depends on the
appropriate qemu-system-$arch to enable KVM to be run. It also
includes a script /usr/bin/kvm which runs the appropriate
qemu-system-$arch in kvm mode.
.
Please note that old qemu-kvm configuration files (in /etc/kvm/) are
no longer used.
Homepage: http://www.qemu.org/
Original-Maintainer: Debian QEMU Team <pkg-qemu-devel@lists.alioth.debian.org>
lsmod | grep -i kvm
Sample Output:
root@ubuntuserver1:~# lsmod | grep -i kvm
kvm_intel 176128 42
kvm 561152 1 kvm_intel
irqbypass 16384 3 kvm
B. VT or Virtualization Technology is enabled
lscpu | grep Virtualization
Sample Output:
root@ubuntuserver1:~# lscpu | grep Virtualization
Virtualization: VT-x
C. Bridge Networking is installed and configured
vi /etc/network/interfaces
brctl show
virsh net-list
Sample Outputs:
Under your /etc/network/interfaces
auto br0
iface br0 inet static
address 192.168.15.19
netmask 255.255.255.248
gateway 192.168.15.17
dns-nameservers 192.168.0.77 8.8.8.8
bridge_ports p1p1
bridge_fd 0
bridge_hello 2
bridge_maxage 12
bridge_maxwait 0
bridge_stp off
root@ubuntuserver1:~# brctl show
bridge name bridge id STP enabled interfaces
br0 888.abcdwxyz23fl no p1p1
vnet0
vnet1
vnet2
root@ubuntuserver1:~# virsh net-list
Name State Autostart Persistent
———————————————————-
default active yes yes
If all ready, we can start creating the Centos 8 Guest or Virtual Machine
- Download the Centos 8 ISO image
wget [ISO location URL]
Sample Output:
root@ubuntuserver1:# wget http://download.nus.edu.sg/mirror/centos/8.3.2011/isos/x86_64/CentOS-8.3.2011-x86_64-dvd1.iso
–2021-02-15 11:44:35– http://download.nus.edu.sg/mirror/centos/8.3.2011/isos/x86_64/CentOS-8.3.2011-x86_64-dvd1.iso
Resolving download.nus.edu.sg (download.nus.edu.sg)… 137.132.155.197
Connecting to download.nus.edu.sg (download.nus.edu.sg)|137.132.155.197|:80… connected.
HTTP request sent, awaiting response… 200 OK
Length: 9264168960 (8.6G) [application/octet-stream]
Saving to: CentOS-8.3.2011-x86_64-dvd1.iso
CentOS-8.3.2011-x86_64-dvd1. 10%[====> ] 948.81M 33.1MB/s eta 5m 26s
2. Check if download successfully
qemu-img info [downloadedISOpath]
Sample Output:
root@ubuntuserver1:/var/lib/libvirt/boot# qemu-img info /var/lib/libvirt/boot/CentOS-8.3.2011-x86_64-dvd1.iso
image: /var/lib/libvirt/boot/CentOS-8.3.2011-x86_64-dvd1.iso
file format: raw
virtual size: 8.6G (9264168960 bytes)
disk size: 8.6G
Optional: Verify ISO image
wget [URL ISO/CHECKSUM]
wget [URL ISO/CHECKSUM.asc]
gpg RPM-GPG-KEY-CentOS-Official
gpg –verify CHECKSUM.asc
Sample Output:
root@ubuntuserver1:/var/lib/libvirt/boot# wget http://download.nus.edu.sg/mirror/centos/8.3.2011/isos/x86_64/CHECKSUM
–2021-02-15 15:36:13– http://download.nus.edu.sg/mirror/centos/8.3.2011/isos/x86_64/CHECKSUM
Resolving download.nus.edu.sg (download.nus.edu.sg)… 137.132.155.197
Connecting to download.nus.edu.sg (download.nus.edu.sg)|137.132.155.197|:80… connected.
HTTP request sent, awaiting response… 200 OK
Length: 319 [application/octet-stream]
Saving to: CHECKSUM
CHECKSUM 100%[==============================================>] 319 –.-KB/s in 0.001s 2021-02-15 15:36:13 (282 KB/s) – CHECKSUM saved [319/319]
root@ubuntuserver1:/var/lib/libvirt/boot# wget http://download.nus.edu.sg/mirror/centos/8.3.2011/isos/x86_64/CHECKSUM.asc
–2021-02-15 15:33:34– http://download.nus.edu.sg/mirror/centos/8.3.2011/isos/x86_64/CHECKSUM.asc
Resolving download.nus.edu.sg (download.nus.edu.sg)… 137.132.155.197
Connecting to download.nus.edu.sg (download.nus.edu.sg)|137.132.155.197|:80… connected.
HTTP request sent, awaiting response… 200 OK
Length: 1179 (1.2K) [application/octet-stream]
Saving to: CHECKSUM.asc
CHECKSUM.asc 100%[==============================================>] 1.15K –.-KB/s in
0.02s
root@ubuntuserver1:/var/lib/libvirt/boot# gpg RPM-GPG-KEY-CentOS-Official
gpg: directory `/root/.gnupg’ created
gpg: new configuration file `/root/.gnupg/gpg.conf’ created
gpg: WARNING: options in `/root/.gnupg/gpg.conf’ are not yet active during this run
gpg: keyring `/root/.gnupg/secring.gpg’ created
gpg: keyring `/root/.gnupg/pubring.gpg’ created
root@ubuntuserver1:/var/lib/libvirt/boot# gpg –verify CHECKSUM.asc
gpg: Signature made Fri 04 Dec 2020 11:48:55 PM +08 using RSA key ID 8483C65D
3. Install using virt-install
virt-install [OPTION]…
Sample Output:
root@ubuntuserver1:# virt-install –virt-type=kvm –name centos8 –ram 8192 –vcpus=4 –os-type=Linux –cdrom=/var/lib/libvirt/boot/CentOS-8.3.2011-x86_64-dvd1.iso –network=bridge=br0,model=virtio –graphics vnc –disk path=/home/tux/images/centos8.qcow2,size=50,bus=virtio
WARNING Graphics requested but DISPLAY is not set. Not running virt-viewer.
WARNING No console to launch for the guest, defaulting to –wait -1
Starting install…
Allocating ‘centos8.qcow2’ | 50 GB 00:00:02
Creating domain… | 0 B 00:00:02
Domain installation still in progress. Waiting for installation to complete.
where:
name = VM/guest name
ram = 8Gb
cdrom = location of the ISO
network = br0 is the interface name
disk path = where to save the images
4. Continue installation via vnc
Step1. Find the vnc port number using this command:
virsh dumpxml [guestname] | grep vnc
Sample Output:
root@ubuntuserver1:/var/lib/libvirt/boot# virsh dumpxml centos8 | grep vnc
<graphics type=’vnc’ port=’5902′ autoport=’yes’ listen=’127.0.0.1′>
Step 2. SSH to setup the the tunnel
ssh username@hostname_or_IP -L [portnum]:[listenIP]:[portnum]
Sample Output:
ssh tux@192.168.15.19 -L 5902:127.0.0.1:5902
tux@192.168.15.19’s password:
Welcome to Ubuntu 16.04.6 LTS (GNU/Linux 4.4.0-169-generic x86_64)
* Documentation: https://help.ubuntu.com
* Management: https://landscape.canonical.com
* Support: https://ubuntu.com/advantage
System information as of Mon Feb 15 12:51:07 +08 2021
Last login: Mon Feb 15 11:53:15 2021 from 192.168.11.10
tux@ubuntuserver1:~$
Step3. Once connected, open your favorite VNC viewer and put the following, e.g. UltraVNC 127.0.0.1:5902
Host: 127.0.0.1 or localhost
Port: 5902
Sample:

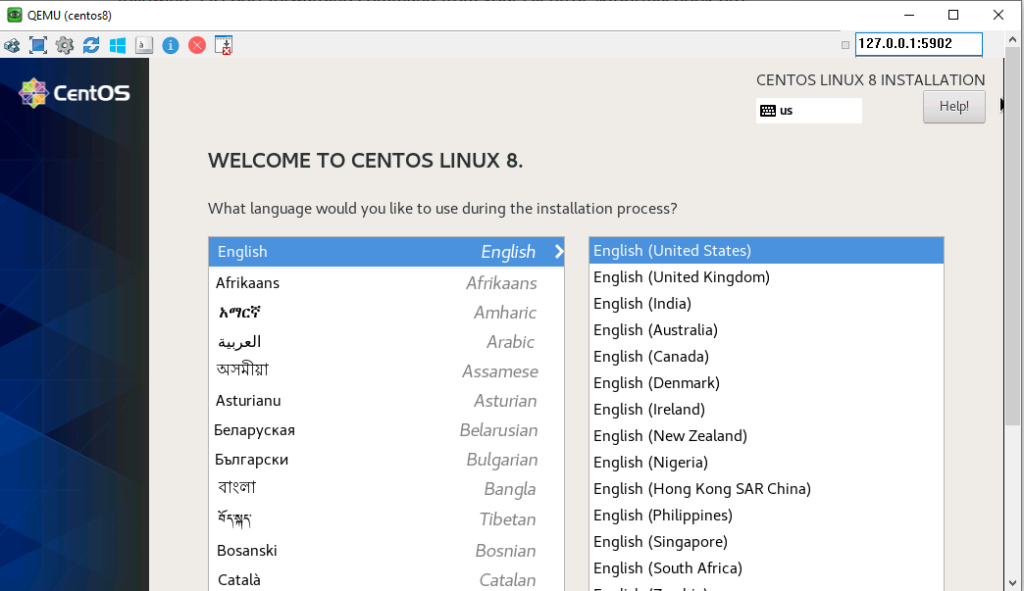
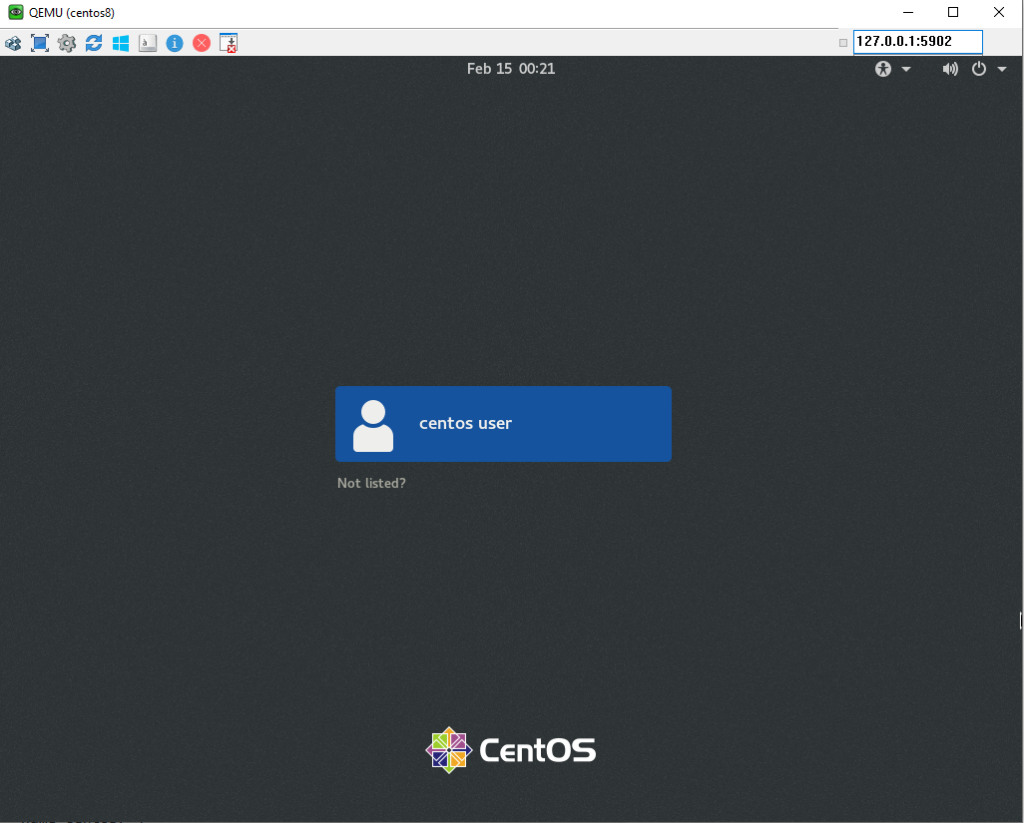
Once VNC is connected, you will see installation is starting
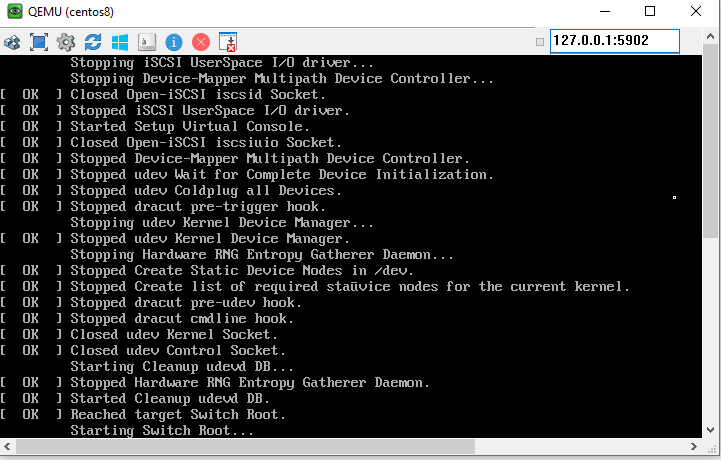
Welcome to Centos Linux 8 will appear, and can proceed installation.
More screencaps during installation:

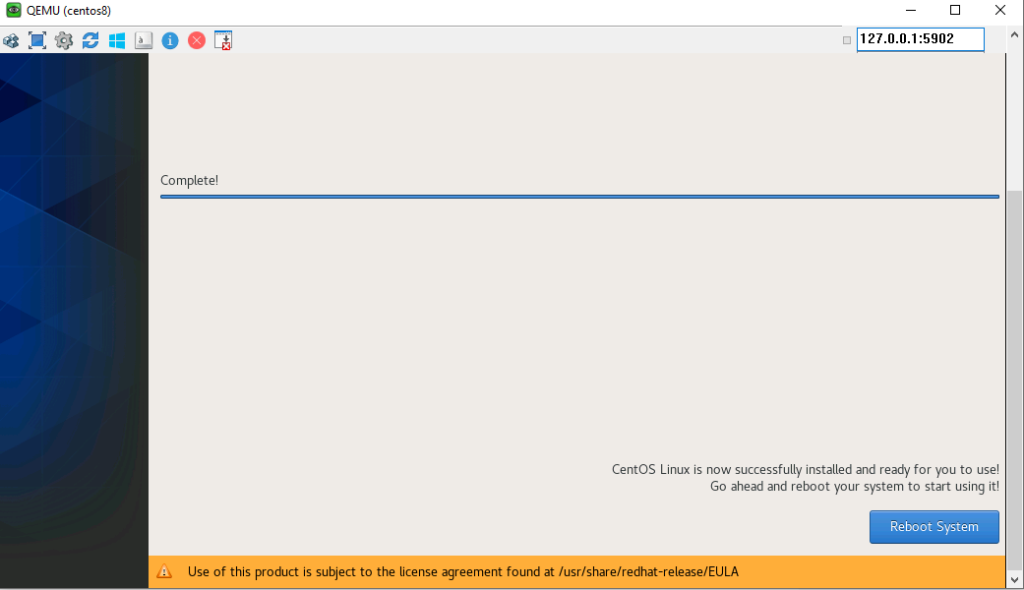
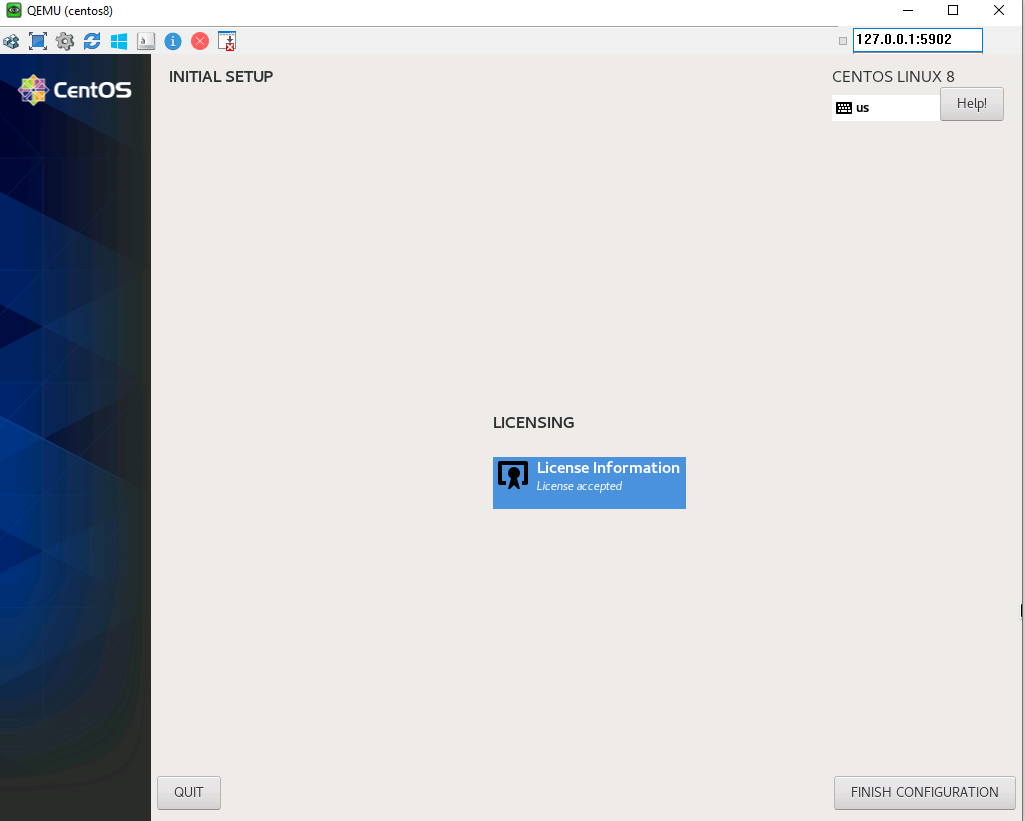
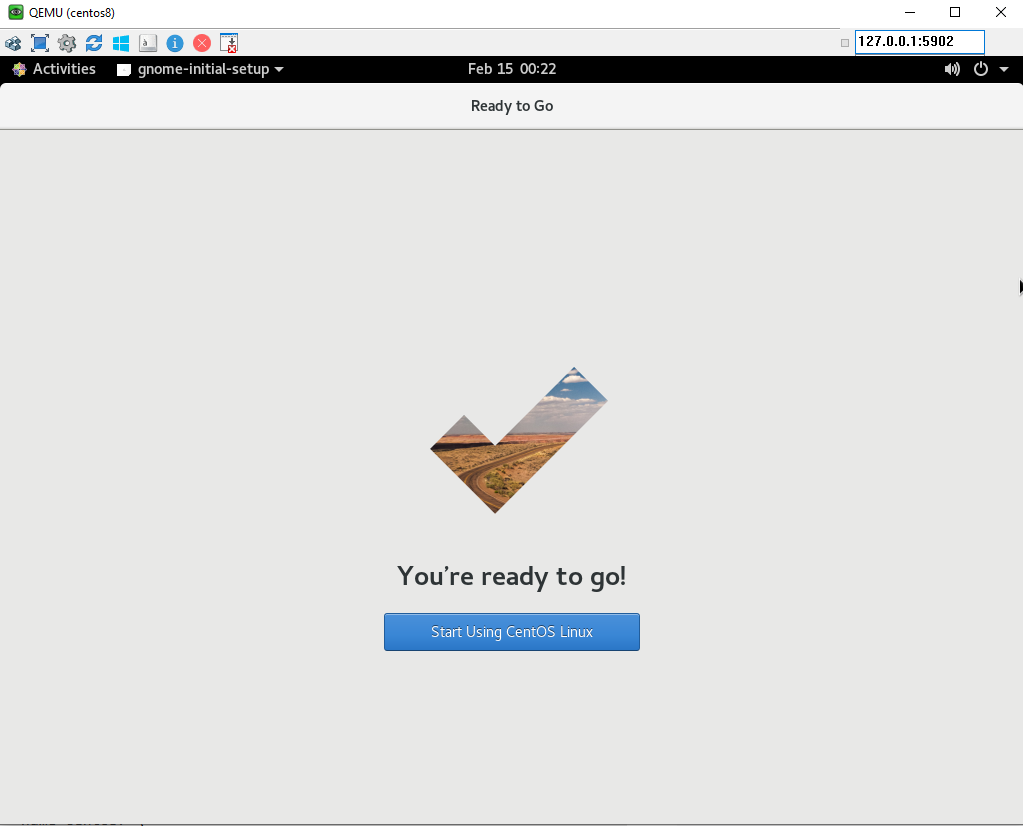
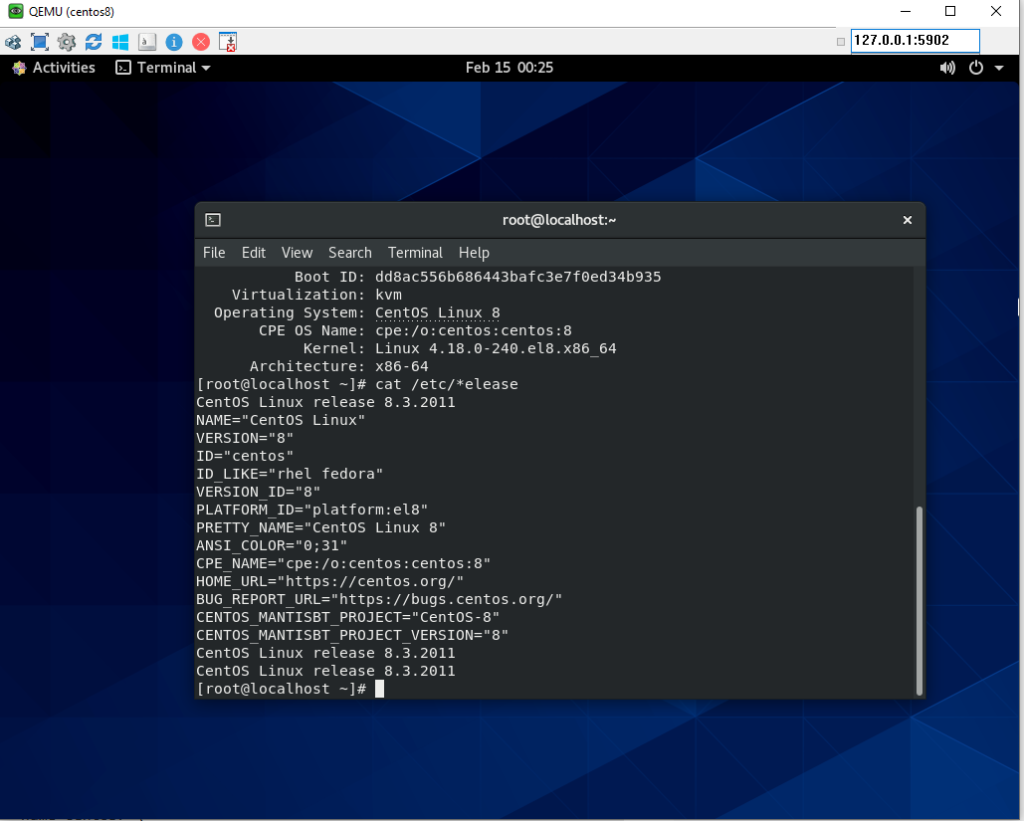
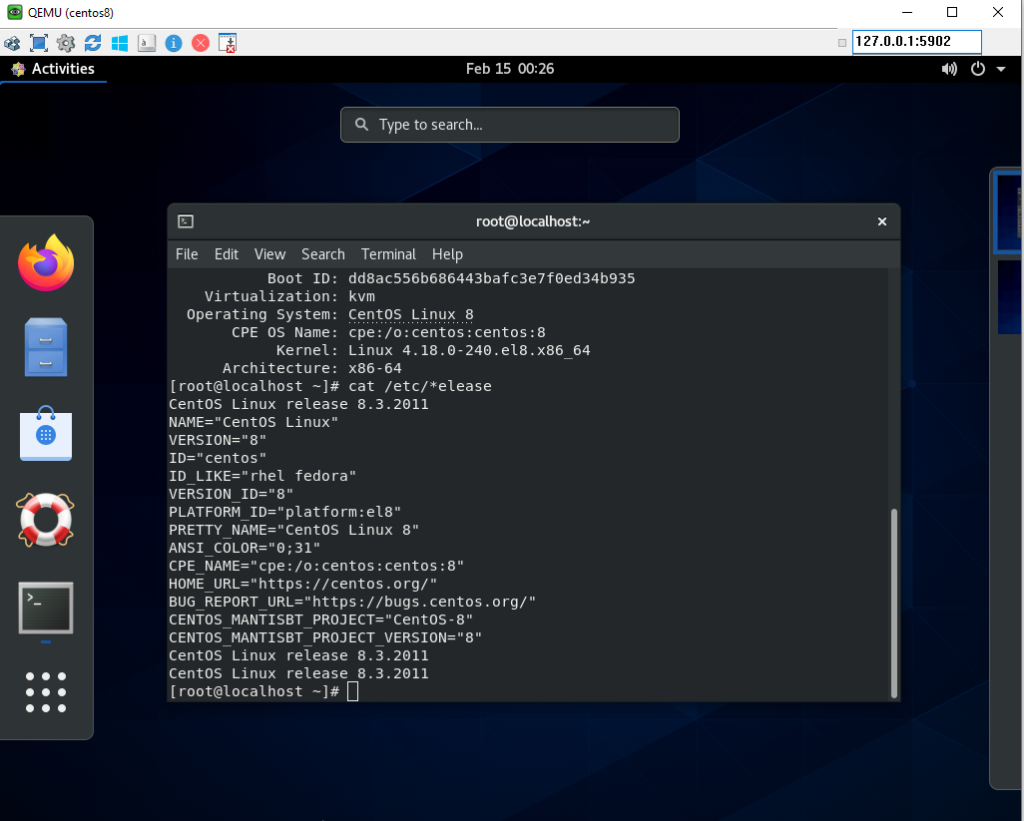

Installation is completed.
root@ubuntuserver1:/# virsh list
Id Name State
—————————————————-
5 eve-ng running
8 centos8 running
Configuring Centos 8 interface IP address and DNS so can go out to internet and be able to remotely access
1. Check the interface name
ifconfig
Sample Output:
[centosuser@localhost ~]$ ifconfig
ens3: flags=4163<UP,BROADCAST,RUNNING,MULTICAST> mtu 1500
ether 11:22:33:df:cf:03 txqueuelen 1000 (Ethernet)
2. Configure the interface
vi /etc/sysconfig/network-scripts/ifcfg-ens3
Sample Output:
[centosuser@localhost ~]$ vi /etc/sysconfig/network-scripts/ifcfg-ens3
You will see something this as default:
TYPE=Ethernet
PROXY_METHOD=none
BROWSER_ONLY=no
BOOTPROTO=dhcp
DEFROUTE=yes
IPV4_FAILURE_FATAL=no
IPV6INIT=yes
IPV6_AUTOCONF=yes
IPV6_DEFROUTE=yes
IPV6_FAILURE_FATAL=no
IPV6_ADDR_GEN_MODE=stable-privacy
NAME=ens3
UUID=15515422-cf38-4768-80c3-a066dee4f3
DEVICE=ens3
ONBOOT=yes
Add/Change the following:
BOOTPROTO=none
ONBOOT=yes
IPADDR=192.168.15.22
PREFIX=29
GATEWAY=192.168.15.17
Save and quit (:wq!)
Verify:
[centosuser@localhost ~]$ ping 192.168.15.17 -c 2
PING 192.168.15.17(192.168.15.17) 56(84) bytes of data.
64 bytes from 192.168.15.17: icmp_seq=1 ttl=255 time=0.858 ms
64 bytes from 192.168.15.17: icmp_seq=2 ttl=255 time=0.853 ms
— 192.168.15.17 ping statistics —
2 packets transmitted, 2 received, 0% packet loss, time 2ms
rtt min/avg/max/mdev = 0.884/0.892/0.901/0.031 ms
3. Bring up the interface
ifup [interfacename]
Sample Output:
[centosuser@localhost ~]# ifup ens3
Connection successfully activated (D-Bus active path: /org/freedesktop/NetworkManager/ActiveConnection/3)
3. Configure the DNS
vi /etc/resolv.conf
Add the following:
nameserver [DNS IP]
Sample Output:
[centosuser@localhost ~]$ cat /etc/resolv.conf
nameserver 1.1.1.1
nameserver 8.8.8.8
Verify:
[centosuser@localhost ~]$ ping google.com -c 2
PING google.com (74.125.200.102) 56(84) bytes of data.
64 bytes from sa-in-f102.1e100.net (74.125.200.102): icmp_seq=1 ttl=107 time=2.17 ms
64 bytes from sa-in-f102.1e100.net (74.125.200.102): icmp_seq=2 ttl=107 time=2.24 ms
— google.com ping statistics —
2 packets transmitted, 2 received, 0% packet loss, time 3ms
rtt min/avg/max/mdev = 2.173/2.204/2.236/0.056 ms